
概览
OpenAI API 允许你使用 GPT Image 模型(包括我们最新的模型)通过文本提示词生成和编辑图像, gpt-image-2。您可以通过两种 API 访问图像生成功能:
图像 API
从 gpt-image-1 and later models, the 图像 API 开始,提供了两个端点,各自具有不同的功能:
图像 API 还包含一个面向支持该功能模型(例如 DALL·E 2)的变体端点。
Responses API
The Responses API 允许你将图像生成作为对话或多步骤流程的一部分。它支持将图像生成作为一种 内置工具,并在上下文中接受图像输入和输出。
与图像 API 相比,它增加了:
- 多轮编辑:通过提示迭代对图像进行高保真度编辑
- 灵活的输入:接受图像 文件 ID 作为输入图像,而不仅仅是字节 Responses API 的图像生成工具使用其专属的 GPT Image 模型选择。有关支持调用此工具的主流模型详细信息,请参阅
支持的模型 选择合适的 API below.
如果你只需要通过单个提示词生成或编辑单张图像,图像 API 是你的最佳选择。
- 如果你想使用 GPT Image 构建对话式、可编辑的图像体验,请选择 Responses API。
- 这两种 API 都允许你
自定义输出 通过调整质量、尺寸、格式和压缩。透明背景取决于模型的支持情况。 本指南重点介绍 GPT Image。
为确保这些模型得到负责任的使用,在使用 GPT Image 模型(包括
生成图像 )之前,你可能需要在
from your 开发者控制台 完成 API 组织验证。 gpt-image-2, gpt-image-1.5,
gpt-image-1,且 gpt-image-1-mini.
你可以使用
图像生成端点 基于文本提示词创建图像,或者在 Responses API 中使用 图像生成工具 将图像生成作为对话的一部分。 要了解更多关于自定义输出(尺寸、质量、格式、压缩)的信息,请参阅
自定义图像输出 你可以设置 部分。
参数以在单个请求中一次生成多张图像(默认情况下,API 返回单张图像)。 n 生成图像
1
2
3
4
5
6
7
8
9
10
11
12
13
14
15
16
17
18
19
20
21
22
from openai import OpenAI
import base64

client = OpenAI()

response = client.responses.create(
    model="gpt-5.5",
    input="Generate an image of gray tabby cat hugging an otter with an orange scarf",
    tools=[{"type": "image_generation"}],
)

# Save the image to a file
image_data = [
    output.result
    for output in response.output
    if output.type == "image_generation_call"
]

if image_data:
    image_base64 = image_data[0]
    with open("otter.png", "wb") as f:
f.write(base64.b64decode(image_base64))1
2
3
4
5
6
7
8
9
10
11
12
13
14
15
16
17
18
19
20
from openai import OpenAI
import base64
client = OpenAI()
prompt = """
A children's book drawing of a veterinarian using a stethoscope to
listen to the heartbeat of a baby otter.
"""
result = client.images.generate(
model="gpt-image-2",
prompt=prompt
)
image_base64 = result.data[0].b64_json
image_bytes = base64.b64decode(image_base64)
# Save the image to a file
with open("otter.png", "wb") as f:
f.write(image_bytes)使用 Responses API,你可以通过在上下文中提供图像生成调用的输出(也可以仅使用图像 ID)或使用
来构建涉及图像生成的多轮对话。 previous_response_id 参数。这允许您在多轮对话中迭代处理图像——优化提示词、应用新指令,并随着对话的推进不断优化视觉输出。
使用 Responses API 的图像生成工具时,支持该工具的模型可以选择是生成新图像还是编辑对话中已有的图像。可选的 action 参数控制此行为:保持 action: "auto" 让模型自行决定,设置为 action: "generate" 始终创建新图像,或设置为 action: "edit" 在上下文中包含图像时强制进行编辑。
1
2
3
4
5
6
7
8
9
10
11
12
13
14
15
16
17
18
19
20
21
22
from openai import OpenAI
import base64

client = OpenAI()

response = client.responses.create(
    model="gpt-5.5",
    input="Generate an image of gray tabby cat hugging an otter with an orange scarf",
    tools=[{"type": "image_generation", "action": "generate"}],
)

# Save the image to a file
image_data = [
    output.result
    for output in response.output
    if output.type == "image_generation_call"
]

if image_data:
    image_base64 = image_data[0]
    with open("otter.png", "wb") as f:
        f.write(base64.b64decode(image_base64))
如果你强制设置 edit 但未在上下文中提供图像,调用将返回错误。请将 action at auto 保留为让模型自行决定何时生成或编辑。
1
2
3
4
5
6
7
8
9
10
11
12
13
14
15
16
17
18
19
20
21
22
23
24
25
26
27
28
29
30
31
32
33
34
35
36
37
38
39
40
41
42
43
from openai import OpenAI
import base64

client = OpenAI()

response = client.responses.create(
    model="gpt-5.5",
    input="Generate an image of gray tabby cat hugging an otter with an orange scarf",
    tools=[{"type": "image_generation"}],
)

image_data = [
    output.result
    for output in response.output
    if output.type == "image_generation_call"
]

if image_data:
    image_base64 = image_data[0]

    with open("cat_and_otter.png", "wb") as f:
        f.write(base64.b64decode(image_base64))


# Follow up

response_fwup = client.responses.create(
    model="gpt-5.5",
    previous_response_id=response.id,
    input="Now make it look realistic",
    tools=[{"type": "image_generation"}],
)

image_data_fwup = [
    output.result
    for output in response_fwup.output
    if output.type == "image_generation_call"
]

if image_data_fwup:
    image_base64 = image_data_fwup[0]
    with open("cat_and_otter_realistic.png", "wb") as f:
f.write(base64.b64decode(image_base64))1
2
3
4
5
6
7
8
9
10
11
12
13
14
15
16
17
18
19
20
21
22
23
24
25
26
27
28
29
30
31
32
33
34
35
36
37
38
39
40
41
42
43
44
45
46
47
48
49
50
51
import openai
import base64
response = openai.responses.create(
model="gpt-5.5",
input="Generate an image of gray tabby cat hugging an otter with an orange scarf",
tools=[{"type": "image_generation"}],
)
image_generation_calls = [
output
for output in response.output
if output.type == "image_generation_call"
]
image_data = [output.result for output in image_generation_calls]
if image_data:
image_base64 = image_data[0]
with open("cat_and_otter.png", "wb") as f:
f.write(base64.b64decode(image_base64))
# Follow up
response_fwup = openai.responses.create(
model="gpt-5.5",
input=[
{
"role": "user",
"content": [{"type": "input_text", "text": "Now make it look realistic"}],
},
{
"type": "image_generation_call",
"id": image_generation_calls[0].id,
},
],
tools=[{"type": "image_generation"}],
)
image_data_fwup = [
output.result
for output in response_fwup.output
if output.type == "image_generation_call"
]
if image_data_fwup:
image_base64 = image_data_fwup[0]
with open("cat_and_otter_realistic.png", "wb") as f:
f.write(base64.b64decode(image_base64))结果
“生成一张灰虎斑猫抱着一只戴着橙色围巾的水獭的图片” | 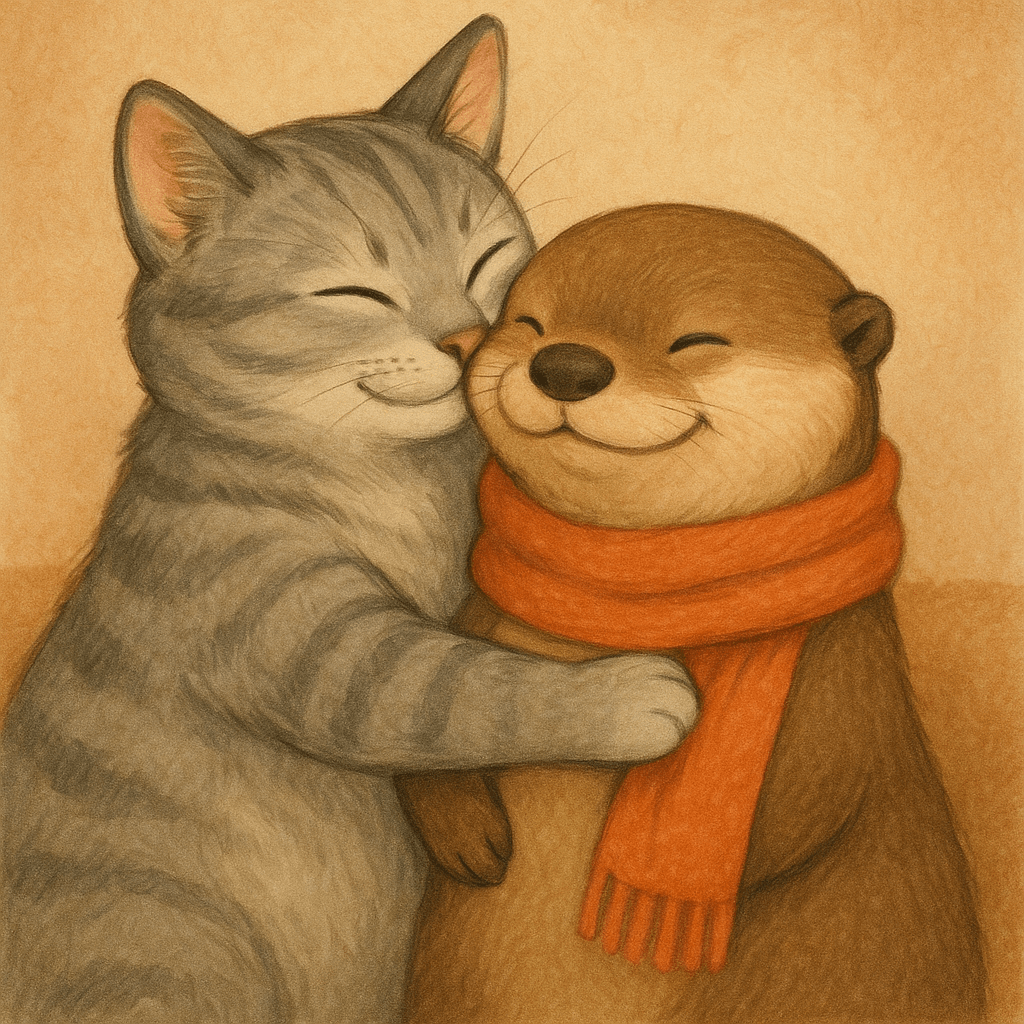 |
“现在让它看起来更逼真” | 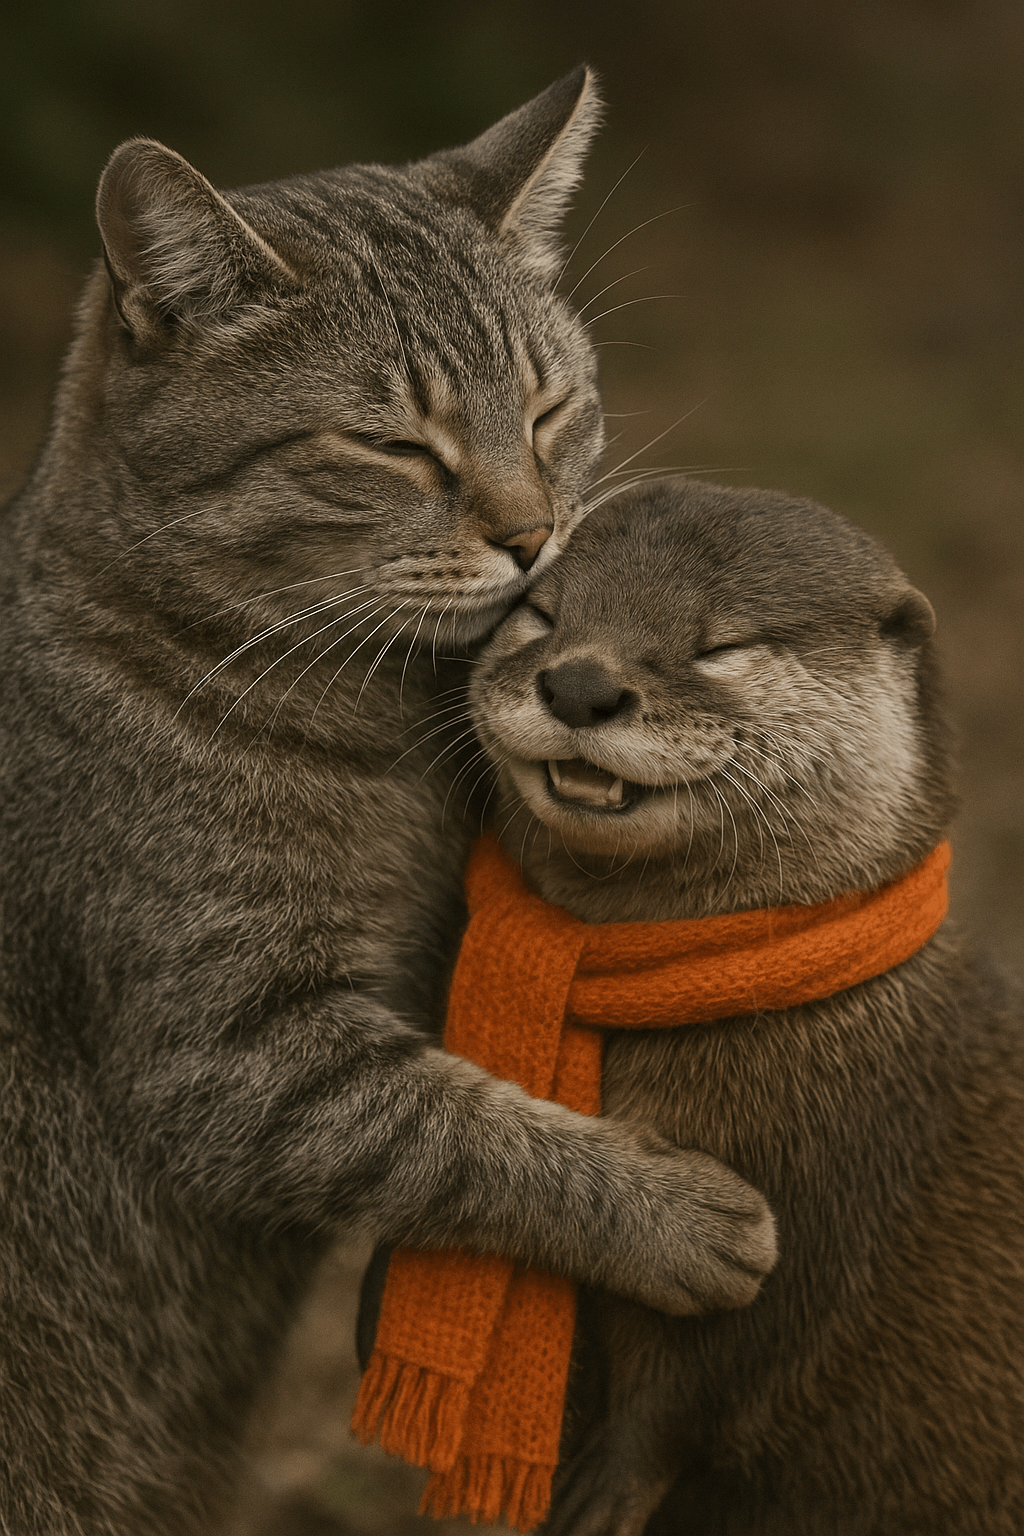 |
流式传输
Responses API 和 Image API 支持流式图片生成。你可以在 API 生成图片时流式传输部分图片,从而提供更具交互性的体验。
你可以调整 partial_images 参数以接收 0-3 张部分图片。
- 如果你将
partial_images设置为 0,你将只会收到最终的图片。 - 当该值大于 0 时,如果完整图片生成速度较快,你实际收到的部分图片数量可能会少于请求数量。
1
2
3
4
5
6
7
8
9
10
11
12
13
14
15
16
17
18
19
from openai import OpenAI
import base64

client = OpenAI()

stream = client.responses.create(
    model="gpt-5.5",
    input="Draw a gorgeous image of a river made of white owl feathers, snaking its way through a serene winter landscape",
    stream=True,
    tools=[{"type": "image_generation", "partial_images": 2}],
)

for event in stream:
    if event.type == "response.image_generation_call.partial_image":
        idx = event.partial_image_index
        image_base64 = event.partial_image_b64
        image_bytes = base64.b64decode(image_base64)
        with open(f"river{idx}.png", "wb") as f:
f.write(image_bytes)1
2
3
4
5
6
7
8
9
10
11
12
13
14
15
16
17
18
19
from openai import OpenAI
import base64
client = OpenAI()
stream = client.images.generate(
prompt="Draw a gorgeous image of a river made of white owl feathers, snaking its way through a serene winter landscape",
model="gpt-image-2",
stream=True,
partial_images=2,
)
for event in stream:
if event.type == "image_generation.partial_image":
idx = event.partial_image_index
image_base64 = event.b64_json
image_bytes = base64.b64decode(image_base64)
with open(f"river{idx}.png", "wb") as f:
f.write(image_bytes)结果
| 部分图片 1 | 部分图片 2 | 最终图片 |
|---|---|---|
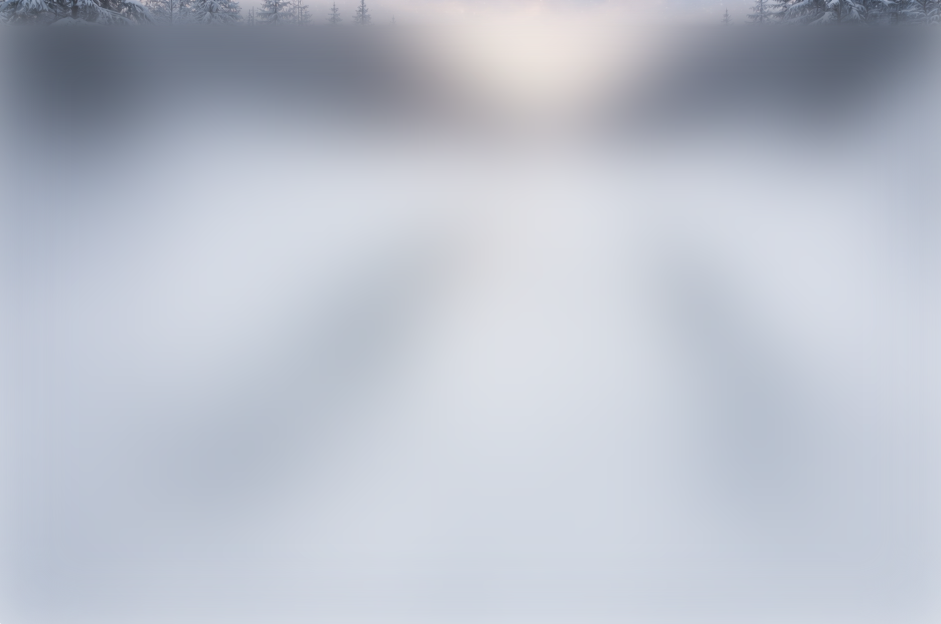 | 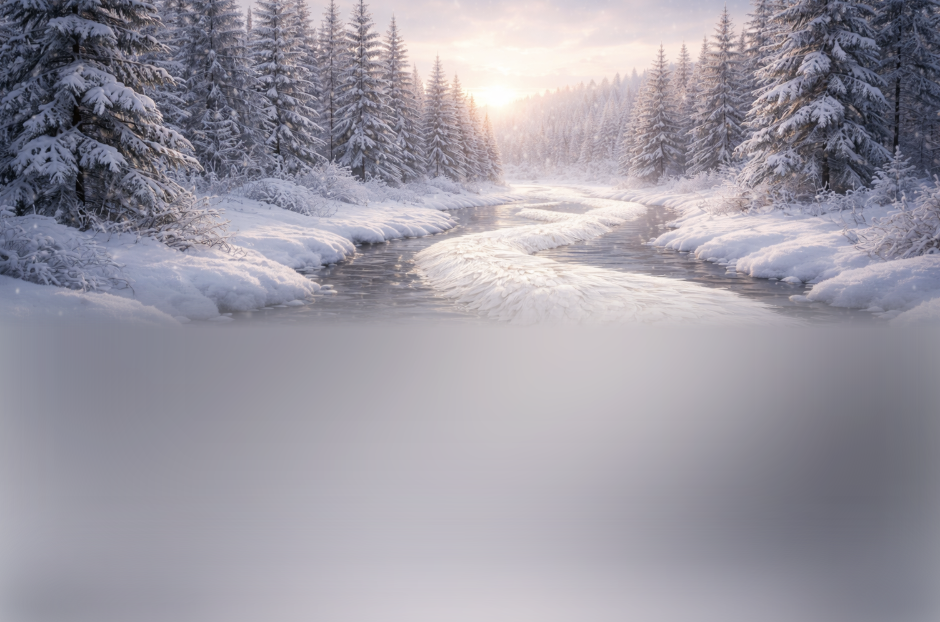 | 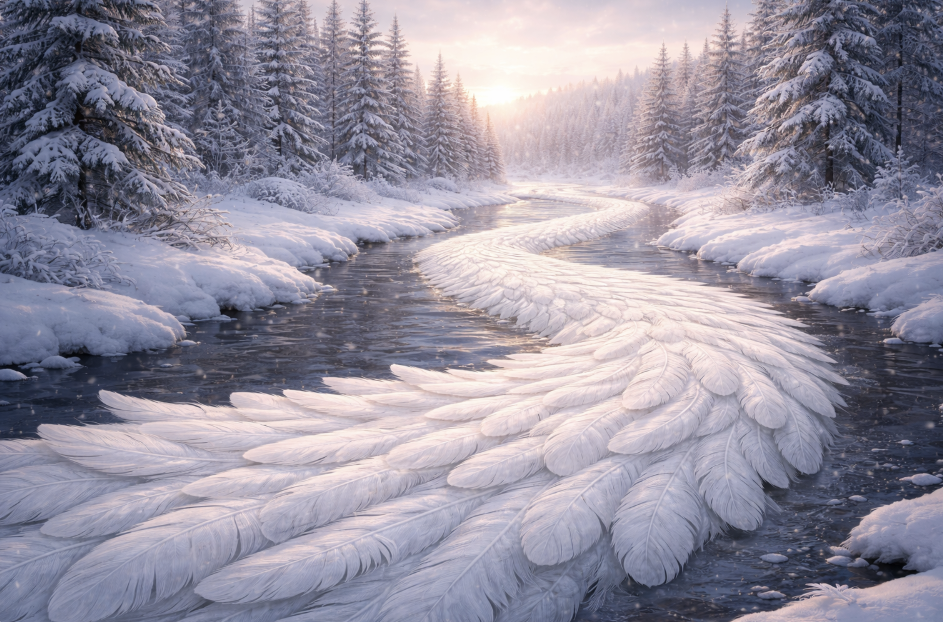 |
提示词:绘制一幅精美的画面,一条由白色猫头鹰羽毛汇成的河流,蜿蜒穿过宁静的冬日风景
修改后的提示词
在 Responses API 中使用图片生成工具时,主模型(例如, gpt-5.5)会自动修改你的提示词以提升生成效果。
你可以在图片生成调用的 revised_prompt 字段中访问修改后的提示词:
1
2
3
4
5
6
7
{
  "id": "ig_123",
  "type": "image_generation_call",
  "status": "completed",
  "revised_prompt": "A gray tabby cat hugging an otter. The otter is wearing an orange scarf. Both animals are cute and friendly, depicted in a warm, heartwarming style.",
  "result": "..."
}
编辑图片
The 图片编辑 端点允许你:
- 编辑现有图片
- 使用其他图片作为参考来生成新图片
- 通过上传图片和遮罩来编辑图片的特定区域,遮罩用于标识需要替换的区域
使用参考图片创建新图片
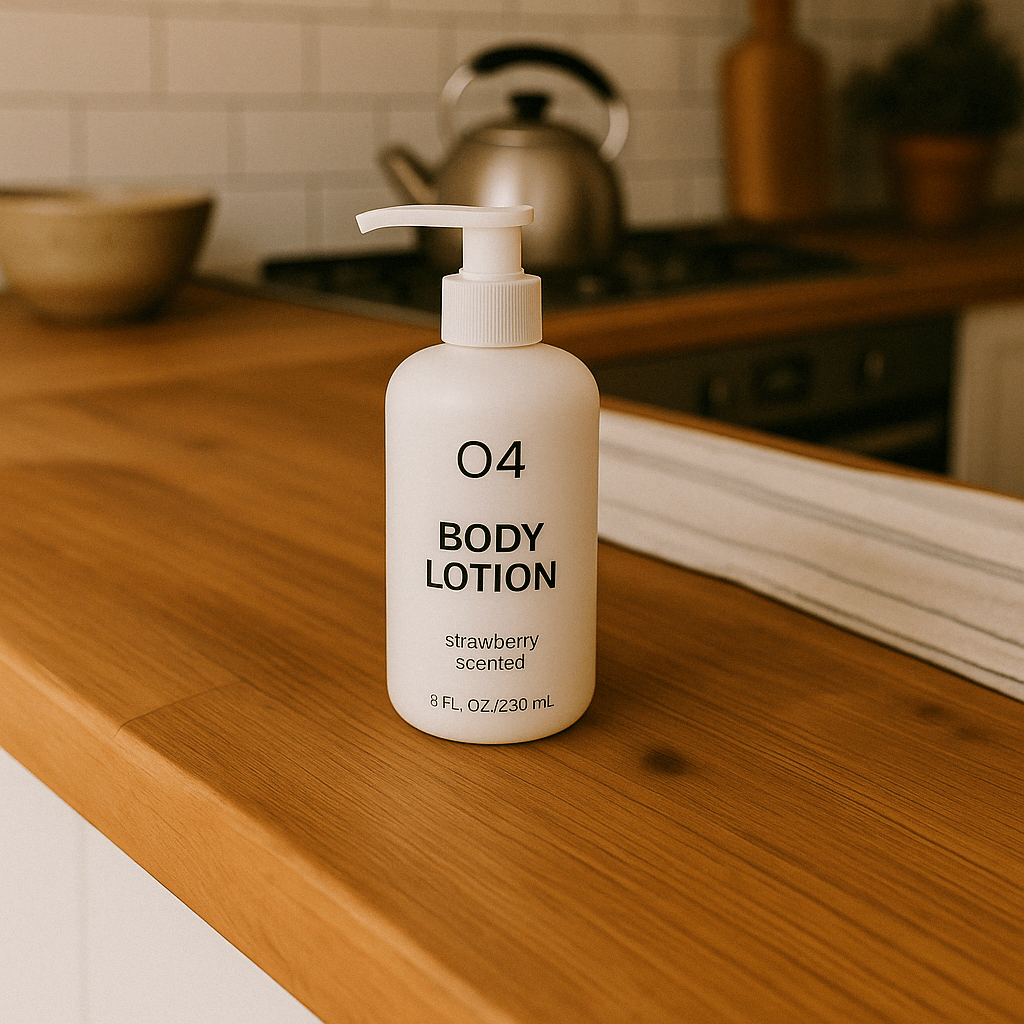
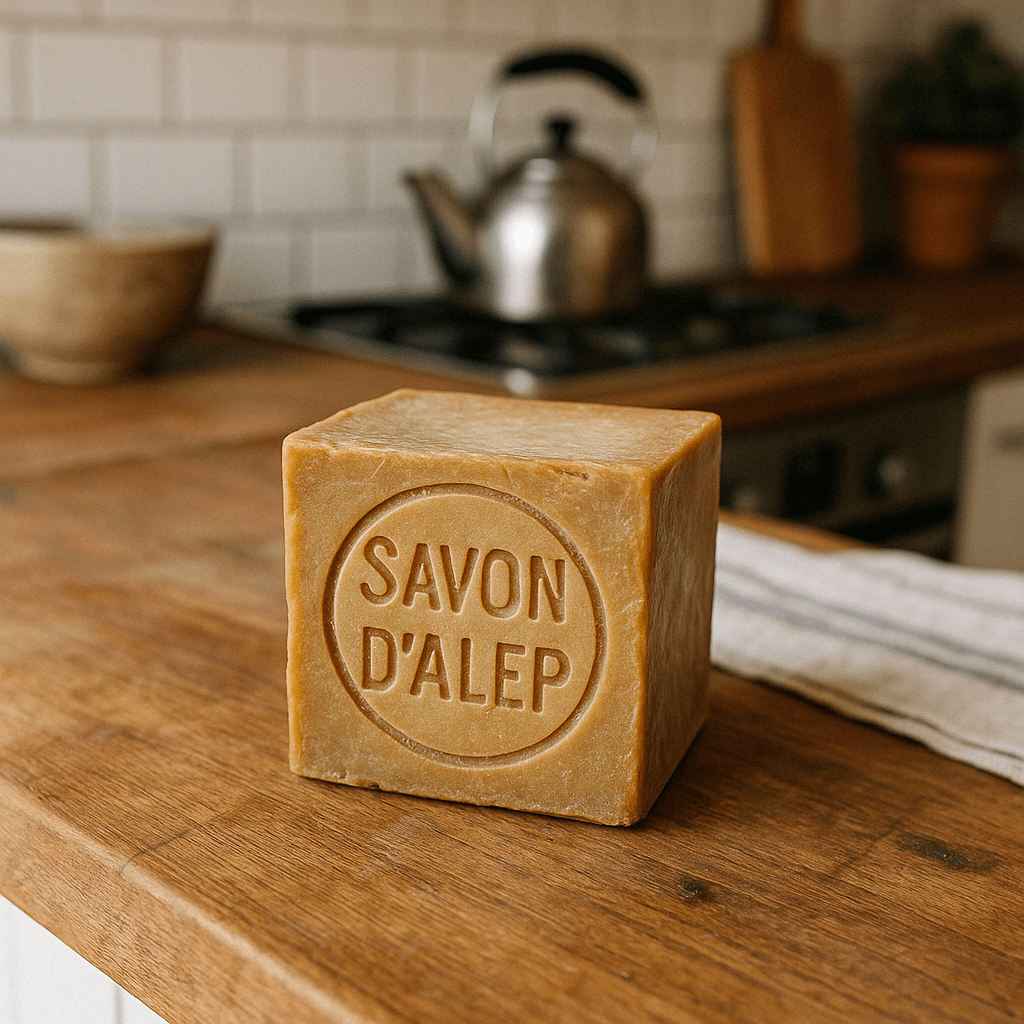
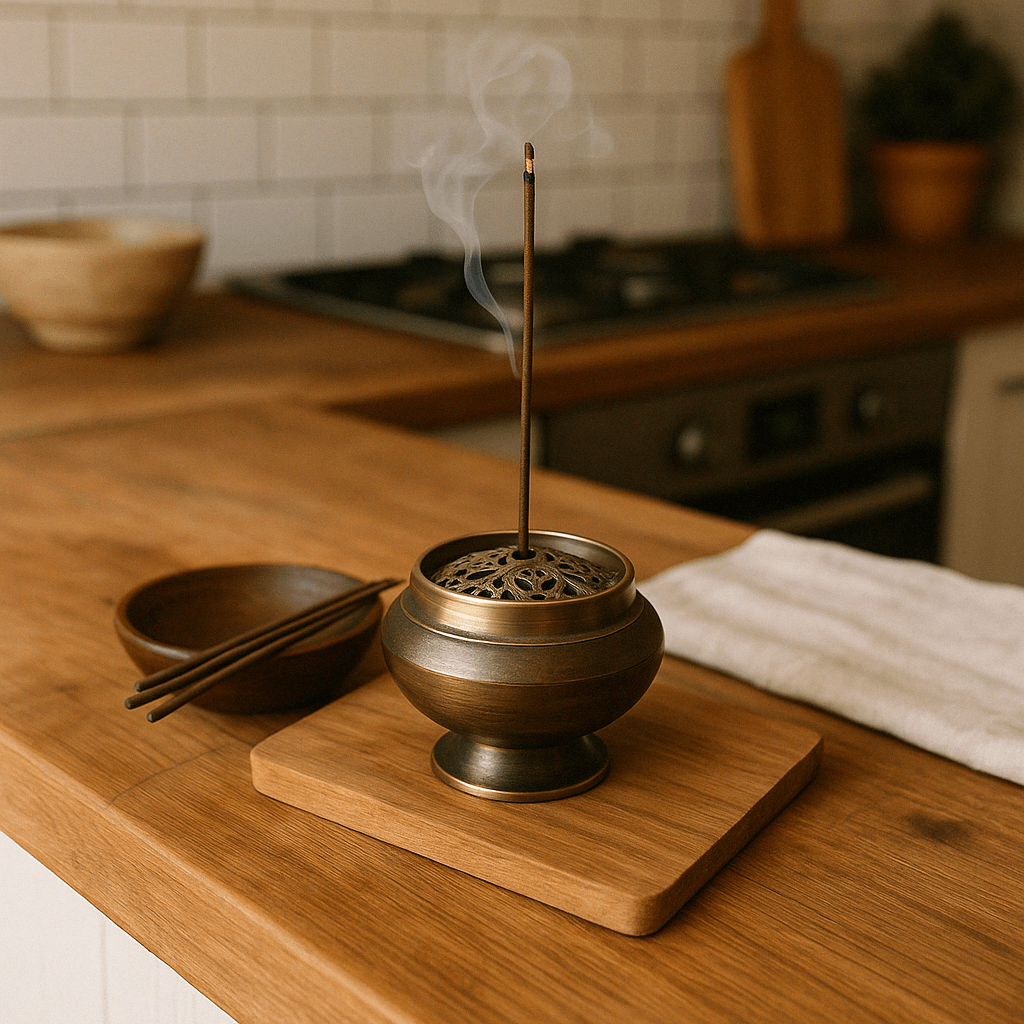
你可以使用一张或多张图片作为参考来生成新图片。
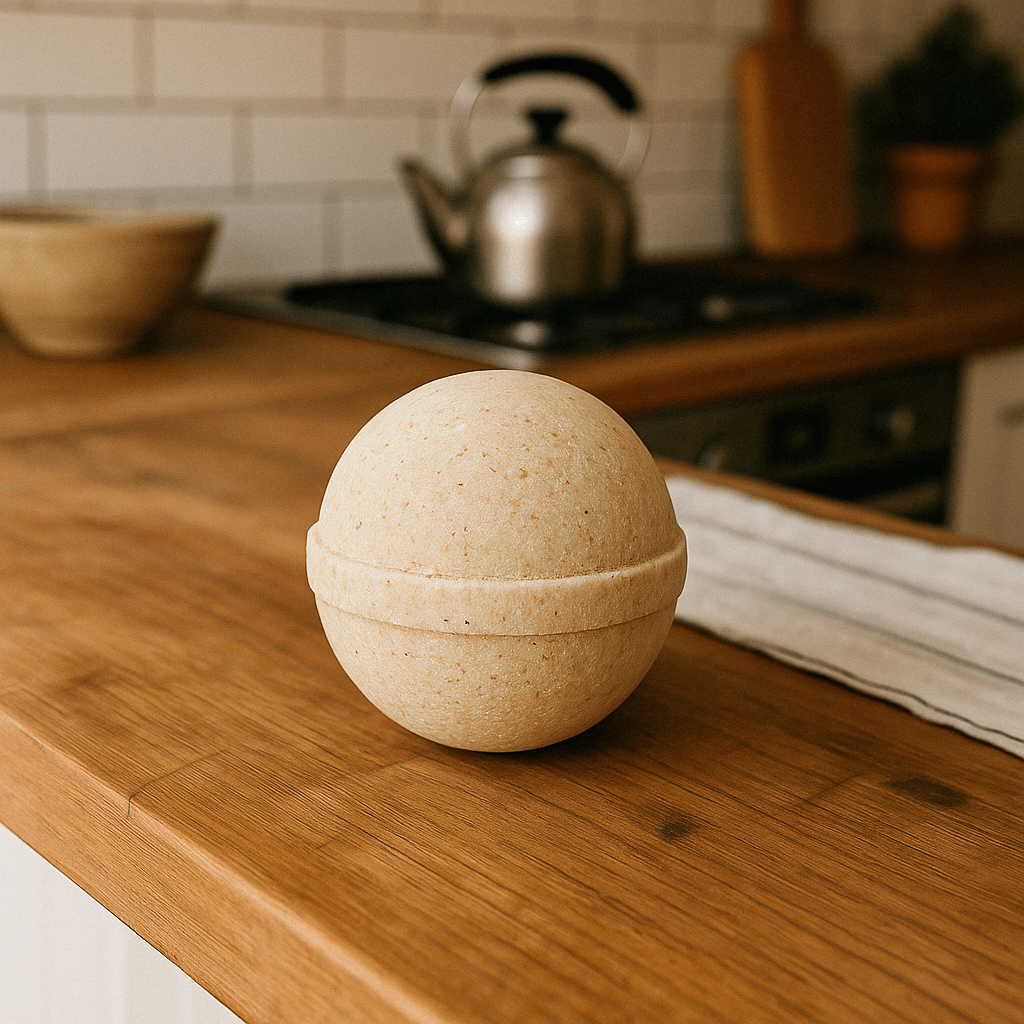
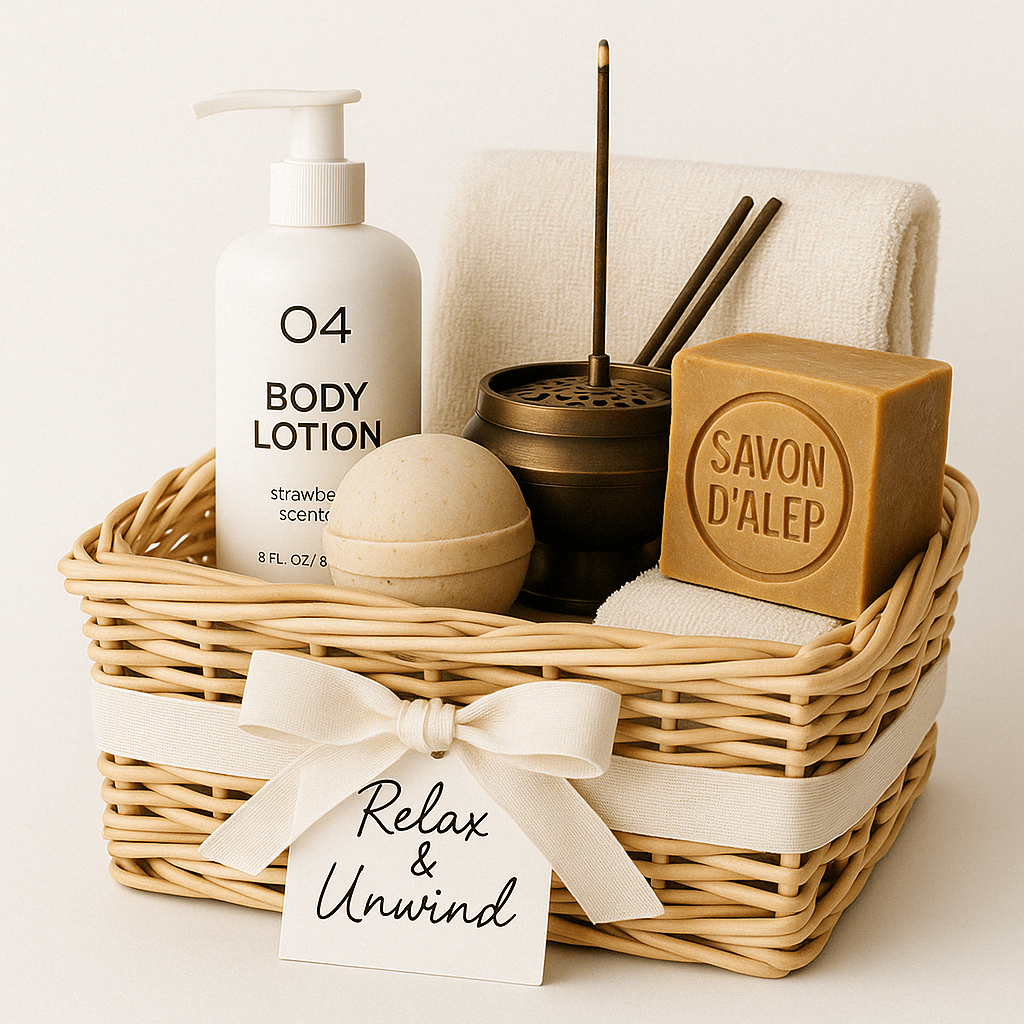
在此示例中,我们将使用 4 张输入图片来生成一张新图片,内容是一个装有参考图片中物品的礼品篮。
使用 Responses API,你可以通过 3 种不同的方式提供输入图片:
- 提供完整的 URL
- 提供 Base64 编码的 Data URL 格式图片
- 提供文件 ID(通过 Files API)
创建文件
1
2
3
4
5
6
7
8
9
10
from openai import OpenAI
client = OpenAI()

def create_file(file_path):
  with open(file_path, "rb") as file_content:
    result = client.files.create(
        file=file_content,
        purpose="vision",
    )
return result.id创建 Base64 编码的图片
1
2
3
4
def encode_image(file_path):
    with open(file_path, "rb") as f:
        base64_image = base64.b64encode(f.read()).decode("utf-8")
    return base64_image
1
2
3
4
5
6
7
8
9
10
11
12
13
14
15
16
17
18
19
20
21
22
23
24
25
26
27
28
29
30
31
32
33
34
35
36
37
38
39
40
41
42
43
44
45
46
47
48
49
50
51
52
53
54
55
56
57
from openai import OpenAI
import base64
client = OpenAI()
prompt = """Generate a photorealistic image of a gift basket on a white background
labeled 'Relax & Unwind' with a ribbon and handwriting-like font,
containing all the items in the reference pictures."""
base64_image1 = encode_image("body-lotion.png")
base64_image2 = encode_image("soap.png")
file_id1 = create_file("body-lotion.png")
file_id2 = create_file("incense-kit.png")
response = client.responses.create(
model="gpt-5.5",
input=[
{
"role": "user",
"content": [
{"type": "input_text", "text": prompt},
{
"type": "input_image",
"image_url": f"data:image/jpeg;base64,{base64_image1}",
},
{
"type": "input_image",
"image_url": f"data:image/jpeg;base64,{base64_image2}",
},
{
"type": "input_image",
"file_id": file_id1,
},
{
"type": "input_image",
"file_id": file_id2,
}
],
}
],
tools=[{"type": "image_generation"}],
)
image_generation_calls = [
output
for output in response.output
if output.type == "image_generation_call"
]
image_data = [output.result for output in image_generation_calls]
if image_data:
image_base64 = image_data[0]
with open("gift-basket.png", "wb") as f:
f.write(base64.b64decode(image_base64))
else:
print(response.output.content)1
2
3
4
5
6
7
8
9
10
11
12
13
14
15
16
17
18
19
20
21
22
23
24
25
26
27
import base64
from openai import OpenAI
client = OpenAI()
prompt = """
Generate a photorealistic image of a gift basket on a white background
labeled 'Relax & Unwind' with a ribbon and handwriting-like font,
containing all the items in the reference pictures.
"""
result = client.images.edit(
model="gpt-image-2",
image=[
open("body-lotion.png", "rb"),
open("bath-bomb.png", "rb"),
open("incense-kit.png", "rb"),
open("soap.png", "rb"),
],
prompt=prompt
)
image_base64 = result.data[0].b64_json
image_bytes = base64.b64decode(image_base64)
# Save the image to a file
with open("gift-basket.png", "wb") as f:
f.write(image_bytes)使用遮罩编辑图片
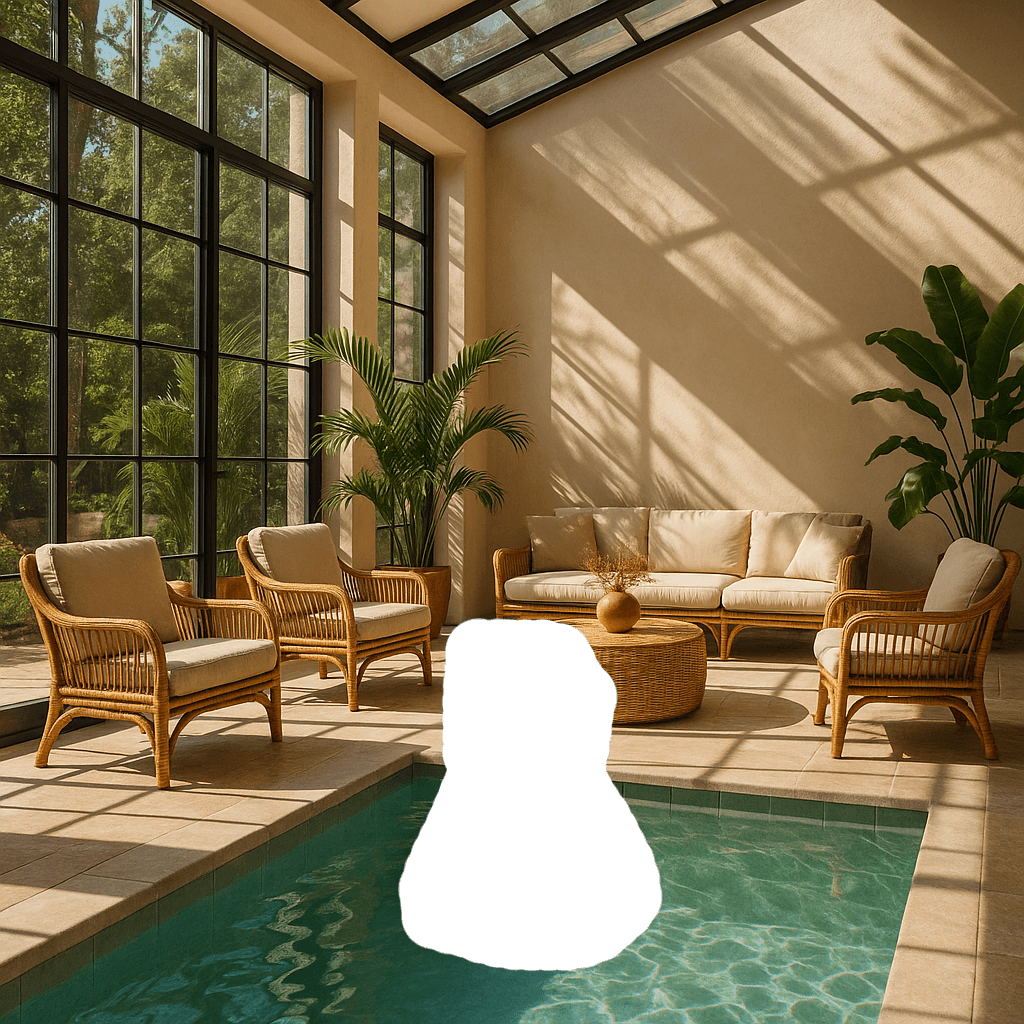
你可以提供遮罩来指示需要编辑的图片区域。
在将遮罩与 GPT Image 结合使用时,系统会向模型发送额外的指令以帮助指导相应的编辑过程。
GPT Image 的遮罩功能完全基于提示词。模型会将遮罩作为指导,但可能不会完全精确地遵循其确切形状。
如果你提供多张输入图片,遮罩将应用于第一张图片。
1
2
3
4
5
6
7
8
9
10
11
12
13
14
15
16
17
18
19
20
21
22
23
24
25
26
27
28
29
30
31
32
33
34
35
36
37
38
39
40
41
42
43
44
from openai import OpenAI
client = OpenAI()

fileId = create_file("sunlit_lounge.png")
maskId = create_file("mask.png")

response = client.responses.create(
    model="gpt-5.5",
    input=[
        {
            "role": "user",
            "content": [
                {
                    "type": "input_text",
                    "text": "generate an image of the same sunlit indoor lounge area with a pool but the pool should contain a flamingo",
                },
                {
                    "type": "input_image",
                    "file_id": fileId,
                }
            ],
        },
    ],
    tools=[
        {
            "type": "image_generation",
            "quality": "high",
            "input_image_mask": {
                "file_id": maskId,
            }
        },
    ],
)

image_data = [
    output.result
    for output in response.output
    if output.type == "image_generation_call"
]

if image_data:
    image_base64 = image_data[0]
    with open("lounge.png", "wb") as f:
        f.write(base64.b64decode(image_base64))
1
2
3
4
5
6
7
8
9
10
11
12
13
14
15
16
from openai import OpenAI
client = OpenAI()
result = client.images.edit(
model="gpt-image-2",
image=open("sunlit_lounge.png", "rb"),
mask=open("mask.png", "rb"),
prompt="A sunlit indoor lounge area with a pool containing a flamingo"
)
image_base64 = result.data[0].b64_json
image_bytes = base64.b64decode(image_base64)
# Save the image to a file
with open("composition.png", "wb") as f:
f.write(image_bytes)| Image | 遮罩 | 输出 |
|---|---|---|
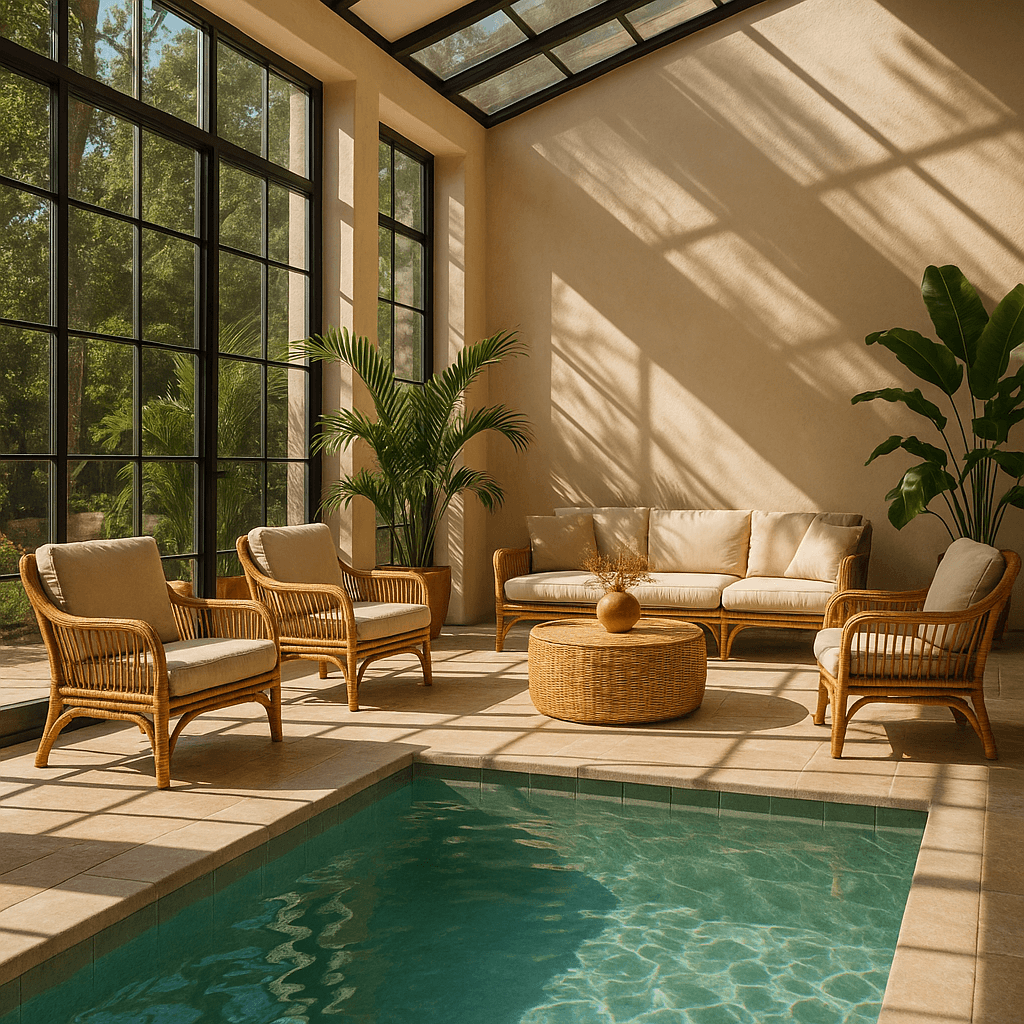 |  | 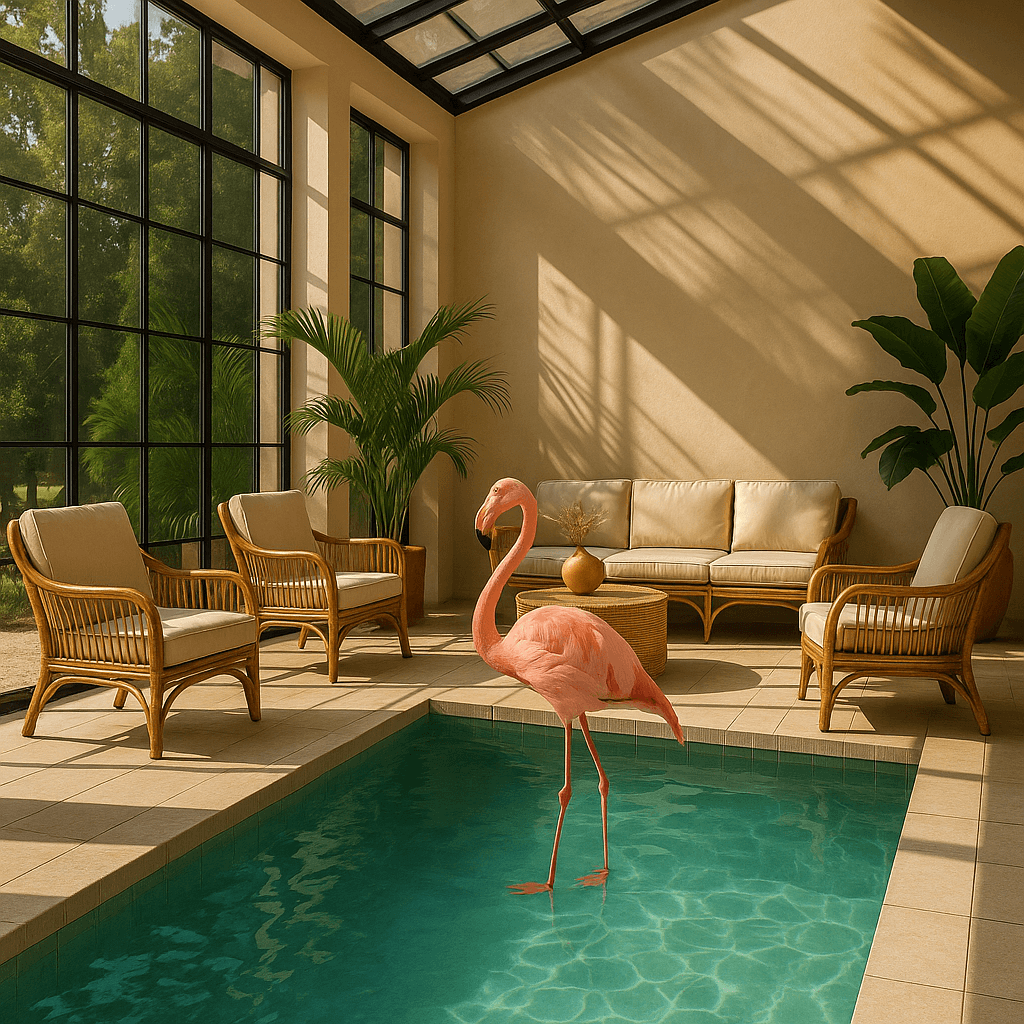 |
提示词:一个阳光充足且设有室内休息区,还有包含火烈鸟的水池
遮罩要求
待编辑的图片和遮罩必须具有相同的格式和尺寸(且大小不超过 50MB)。
遮罩图片还必须包含 Alpha 通道。如果你使用图片编辑工具创建遮罩,请确保在保存时包含 Alpha 通道。
你可以通过编程方式修改黑白图片以添加 Alpha 通道。
1
2
3
4
5
6
7
8
9
10
11
12
13
14
15
16
17
18
19
20
21
from PIL import Image
from io import BytesIO

# 1. Load your black & white mask as a grayscale image
mask = Image.open(img_path_mask).convert("L")

# 2. Convert it to RGBA so it has space for an alpha channel
mask_rgba = mask.convert("RGBA")

# 3. Then use the mask itself to fill that alpha channel
mask_rgba.putalpha(mask)

# 4. Convert the mask into bytes
buf = BytesIO()
mask_rgba.save(buf, format="PNG")
mask_bytes = buf.getvalue()

# 5. Save the resulting file
img_path_mask_alpha = "mask_alpha.png"
with open(img_path_mask_alpha, "wb") as f:
    f.write(mask_bytes)
图片输入保真度
The input_fidelity 参数控制模型在编辑和参考图片工作流中对输入图片细节的保留程度。对于 gpt-image-2,请省略此参数;API 不允许更改它,因为模型会自动以高保真度处理每个输入的图像。
由于 gpt-image-2 在处理图片输入时始终保持高保真度,因此对于包含参考图片的编辑请求,图片输入 Token 的消耗可能会更高。如需了解对成本的影响,请参阅 视觉成本
section.
自定义图片输出
你可以配置以下输出选项:
- 尺寸:图像尺寸(例如,
1024x1024,1024x1536) - 质量:渲染质量(例如,
low,medium,high) - 格式:文件输出格式
- 压缩:JPEG 和 WebP 格式的压缩级别 (0-100%)
- 背景:不透明或自动
size, quality,且 background 支持 auto 选项,模型将根据提示词自动选择最佳选项。
gpt-image-2 目前不支持透明背景。带有
background: "transparent" 的请求不受此模型支持。
尺寸与质量选项
gpt-image-2 在满足以下约束条件时,接受任何分辨率的 size 参数。正方形图像通常生成速度最快。
| 常用尺寸 |
|
| 尺寸限制 |
|
| 质量选项 |
|
使用 quality: "low" 适用于快速草稿、缩略图和快速迭代。这是最快的选项,并且在许多常见用例中表现良好,然后再过渡到
medium or high for final assets.
输出包含超过 2560x1440 (3,686,400)总像素(通常称为 2K)的情况被视为实验性功能。
输出格式
Image API 返回 base64 编码的图像数据。默认格式为 png,但您也可以请求 jpeg or webp.
如果使用 jpeg or webp,您还可以指定 output_compression 参数来控制压缩级别(0-100%)。例如, output_compression=50 会将图像压缩 50%。
使用 jpeg 比 png,因此,如果对延迟有要求,应优先考虑此格式。
限制
GPT 图像模型(gpt-image-2, gpt-image-1.5, gpt-image-1,且 gpt-image-1-mini) 是功能强大且用途广泛的图像生成模型,但仍有一些限制需要注意:
- Latency: 处理复杂的提示词最多可能需要 2 分钟。
- 文本渲染: 尽管已有显著改善,但模型在精确的文本定位和清晰度方面仍可能存在困难。
- Consistency: 虽然能够生成一致的图像,但在多次生成中,模型偶尔可能难以保持重复出现的角色或品牌元素的视觉一致性。
- 构图控制: 尽管指令遵循能力有所提升,但模型在结构化或对布局敏感的构图中精确放置元素时,可能仍有困难。
内容审核
所有提示词和生成的图像都会根据我们的 内容政策.
对于使用 GPT Image 模型生成图像(gpt-image-2, gpt-image-1.5, gpt-image-1,且 gpt-image-1-mini),你可以通过 moderation 参数来控制审核的严格程度。此参数支持两个值:
auto(默认):标准过滤,旨在限制生成某些类别的可能对特定年龄段不合适的内容。low:过滤限制较少。
支持的模型
在 Responses API 中使用图像生成时, gpt-5 及更新的模型应支持图像生成工具。 请查看您的模型详情页 以确认所需模型是否可以使用图像生成工具。
成本与延迟
gpt-image-2 输出 tokens
For gpt-image-2,请使用计算器根据请求的 quality and size:
之前的模型 gpt-image-2
之前的 GPT Image 模型 gpt-image-2 通过首先生成专门的图像 token 来生成图像。延迟和最终成本均与渲染图像所需的 token 数量成正比——图像尺寸越大、质量设置越高,所需的 token 就越多。
生成的 token 数量取决于图像尺寸和质量:
| 质量 | 正方形 (1024×1024) | 纵向 (1024×1536) | 横向 (1536×1024) |
|---|---|---|---|
| 低 | 272 个 token | 408 个 token | 400 个 token |
| 中 | 1056 个 token | 1584 个 token | 1568 个 token |
| 高 | 4160 个 token | 6240 个 token | 6208 个 token |
请注意,您还需要考虑 输入 token:提示词的文本 Token,以及编辑图像时输入图像的图像 Token。因为 gpt-image-2 始终以高保真度处理图像输入,包含参考图像的编辑请求可能会消耗更多输入 token。
请参考 中找到 以了解当前的文本和图像 token 价格,并使用下方的 计算成本 部分来估算请求成本。
最终成本是以下各项的总和:
- 输入文本 token
- 输入图像 token(如果使用 edits 端点)
- 输出图像 token
计算成本
使用下方的价格计算器来估算 GPT Image 模型的请求成本。
gpt-image-2 支持数千种有效分辨率;下表列出了之前 GPT Image 模型所使用的相同尺寸以供比较。对于 GPT Image 1.5、GPT Image 1 和 GPT Image 1 Mini,下方也列出了传统的按图像输出计费表。在估算请求的总成本时,您仍应将文本和图像的输入 token 考虑在内。
在相同质量设置下,较大的非正方形分辨率有时会比更小或正方形的分辨率产生更少的输出 token。
| 模型 | 质量 | 1024 x 1024 | 1024 x 1536 | 1536 x 1024 |
|---|---|---|---|---|
GPT Image 2 可用的其他尺寸 | 低 | $0.006 | $0.005 | $0.005 |
| 中 | $0.053 | $0.041 | $0.041 | |
| 高 | $0.211 | $0.165 | $0.165 | |
GPT Image 1.5 | 低 | $0.009 | $0.013 | $0.013 |
| 中 | $0.034 | $0.05 | $0.05 | |
| 高 | $0.133 | $0.2 | $0.2 | |
GPT Image 1 | 低 | $0.011 | $0.016 | $0.016 |
| 中 | $0.042 | $0.063 | $0.063 | |
| 高 | $0.167 | $0.25 | $0.25 | |
GPT Image 1 Mini | 低 | $0.005 | $0.006 | $0.006 |
| 中 | $0.011 | $0.015 | $0.015 | |
| 高 | $0.036 | $0.052 | $0.052 |
部分图像的成本为
如果您想要 流式图像生成 使用 partial_images 参数,每个部分图像将额外消耗 100 个图像输出 token。